Showing posts with label greek food. Show all posts

Tuesday, 10 July 2012

Tzatziki


You have to love tzatziki for its simplicity if nothing else, Often served in and amongst a mesa of other bit and pieces tzatziki is eaten as a dip with just about everything.

Tzatziki take about five minutes to whip up to do so you will need:

200g Greek Yogurt
1          Small cucumber
1          Clove of garlic
8          Mint leaves (optional)
Salt (Sea Salt) and Pepper to taste  

Put your Greek yogurt into a bowl, crush the garlic clove and grate the cucumber, add these to the yogurt and mix them in. Finley chop the mint leaves and mix these into the rest. Add a pinch of sea salt and grind in some black pepper to your own taste.

Tzatziki will keep covered in the fridge for two to three days.


Monday, 9 July 2012

Fava


Fava.

Fava, is a really simple massively healthy Greek side dish. It is most commonly served as one of the many dishes that tend to find them selves on a Greek dinner table.

Fava is made from split yellow peas, much to my amusement if you go to a restaurant which is kind enough to translate the menu into English you will find this dish under pea soup, this of course is not what it is but is what fava directly translates as.

To make fava you will need.

Fava or split yellow peas
2 Small Onions
Olive oil
Salt and Pepper to taste


Put the yellow peas into a pan, peal one of the onions, cross both ends and put this in with the yellow peas. Cover the yellow peas with water you will want the water to be above the peas by about 2cm. Add a pinch of sea salt.


Bring the plan to the boil and let it boil for about 20 minutes or until the peas have absorbed the water and are soft to the touch.


Drain any extra water and discard the Onion. Put the peas into a food processer and add about two tablespoons of olive oil. Run the food processer until the peas have become more of a cream, you may need to add a little water. At this point you can add some more salt and pepper, if you like you can also add a few herbs. I like to throw in some oregano and basil.

Finely chop the second onion. Take the now creamy fava out of the food processor and top with the onions and a dash of olive oil to serve.

This dish is best served warm. It will keep in the fridge for several days; you can heat it in the microwave or on the hob to serve again later on. 


Tuesday, 26 June 2012

Wild Snails


The bag of snails, which came in with the mountains of vegetables, was quite quickly put to use… and very swiftly became a tasty part of dinner.


What you need:

50 – 60            snails
2          large tomatoes
2          cloves of crushed garlic
1          cup of olive oil
1          large red onion
1          Red or green pepper


Take the snails and put them into a large bowl. Cover them with cool water and let them rest for about 5 minutes this is to help take off all the hardened flour and dirt that they are inevitably covered with.


In the mean time put a pan on the stove and half fill with water, turn on the heat and bring this to the boil.


Drain the snails and put them into the now boiling water. You need to boil them for about ten minutes. Once the ten minutes is up take them out of the water and drain them in a colander then run cool water over them so that you can handle them.


Take a small sharp knife and scrape off all the dirt and any gunk that is on the shell.


Grate a tomato and an onion and put these to one side, finely chop the pepper and put this with the onion and garlic. Pour the olive oil into the pan and put it onto a medium high heat. Once the oil starts to warm up add the snails to the pan, stir them to cover in olive oil and then add the tomato, onion, garlic and pepper to the mix along with a cup of water. You can add in herbs, salt and pepper if you wish.


Leave the pan on the heat and stir every now and again. The water will boil off leaving the snails in a lovely sauce this will take about 25 – 30 mins.


Take the snails out, place them on a plate and serve.

Zucchini Balls


These are great, simple and easy to make.

You will need:

6          large courgettes or zucchinis
2          Eggs
1          large white onion
2/3       Garlic cloves
1          Cup of breadcrumbs
            A handful of Parsley – roughly chopped
            Pinch of salt
150g    Feta cheese – crumbled
2 tsp    Oregano
1 tsp   Ground black pepper
2 tbs    Plain flour
            Olive oil – enough to fill a frying pan to a depth of 1cm

Using a cheese grater, grate the zucchinis and the onion into a large mixing bowl.

Let this bowl stand for about 10 mins so that all the juice has a chance to settle at the bottom. Poor the juice out and then add the eggs, parsley, flour, breadcrumbs, salt, pepper and oregano to the bowl and mix together with your hands. The mix should be firm enough so that when you make a ball it sticks together.


Put a frying pan on a medium/high heat and pour in the oil, let this get nice and hot and then start adding the zucchini balls. It is best to make them as you add them to the oil. The balls should be just smaller than the palm of your hand.


Add the balls to the pan and let them fry for about 4 mins, have a look at the underside which should be a dark golden brown. Once they are at this stage you will need to turn them over.


When both sides are golden brown take them out of the pan and place onto a plate which has some paper towel on it to absorb the excess oil.


Serve warm.    


Monday, 25 June 2012

Cooking in the eye of the storm!


When I started this blog I spoke to several of my Greek friends here and explained what I was trying to achieve … they were all very kind and supported me. I asked them if they would be good enough, at some point, to cook a few Greek dishes for me to photograph and put up on the blog. They all agreed and disappeared off into the sunset. A couple of days later I got a phone call inviting me to one of their houses where they were going to cook a recipe for me … great I thought, thank you and I’ll be there!

So the next day off I went … thinking that there would be just a couple of ladies cooking a recipe, that I would then photograph … oh how wrong I was, the truth is that I should have known better!

I arrived at the house and was greeted by a friend and her cousin, this is great I thought as I sat down to have a chat, the next thing I know the door bell goes and in comes her Mum and Dad, Dad armed with huge bags of vegetables - as if he had gone mad at the market - but It wasn’t the market which he had gone mad at, it was in fact his garden! We are at the time of year where gardens are spewing vegetables out faster than even the most starving of African nations could possibly imagine or hope to keep up with.

With the vegetables now inspected and accepted by his daughter and niece he disappeared off into the house to find the grand children to whom he delivered a rather large bag of sweeties, a few seconds later and accompanied by lots of delighted shrieking he resurfaced for some coffee and settled down on the sofa to watch the new Prime Minister being sworn into government. 

In the mean time Mum, who I later dubbed ‘the hurricane’, had set down her bags and pots of flour and cheese, I didn’t actually have a second to take this in because the next thing I knew the door bell was ringing again - making the sound of a deranged bird which was tired of having its tail pulled every ten seconds.  In walks another friend along with her two children and equally as laden with bags. Here we go I thought.

What happened next took nothing short of an air traffic controller to orchestrate. Not only were there at least nine people in and around the kitchen BUT I was told that we were to make four recipes simultaneously….

If I am entirely honest it took the best part of everything that I had to keep up with the four ladies who, thanks to years of training, had developed the most amazing ability to create food on scales I have not seen for years, I must confess to asking if the rest of Greece would be joining us for our snacks afterwards. 

Greek kitchens suffer from or are ruled by hierarchy, it is a matriarchal society which you must wait years to lead. ‘The hurricane’ - who got her name that night due to the fact that everything she did was done so fast that the 3 second delay on my extended flash seemed like a life time. Consequently I was in a permanent sate of frenzy trying to catch the movement I wanted before the moment was gone! ‘The hurricane’ was in control, it wasn’t her kitchen but that didn’t seem to matter and everyone was happy to accept these rules. She was amazing, never have I seen hands move so fast. Once I had my pictures I had to stand back in awe of the remarkable lady and the speed at which she worked, this was the speed in which she demanded that everyone else work at too!

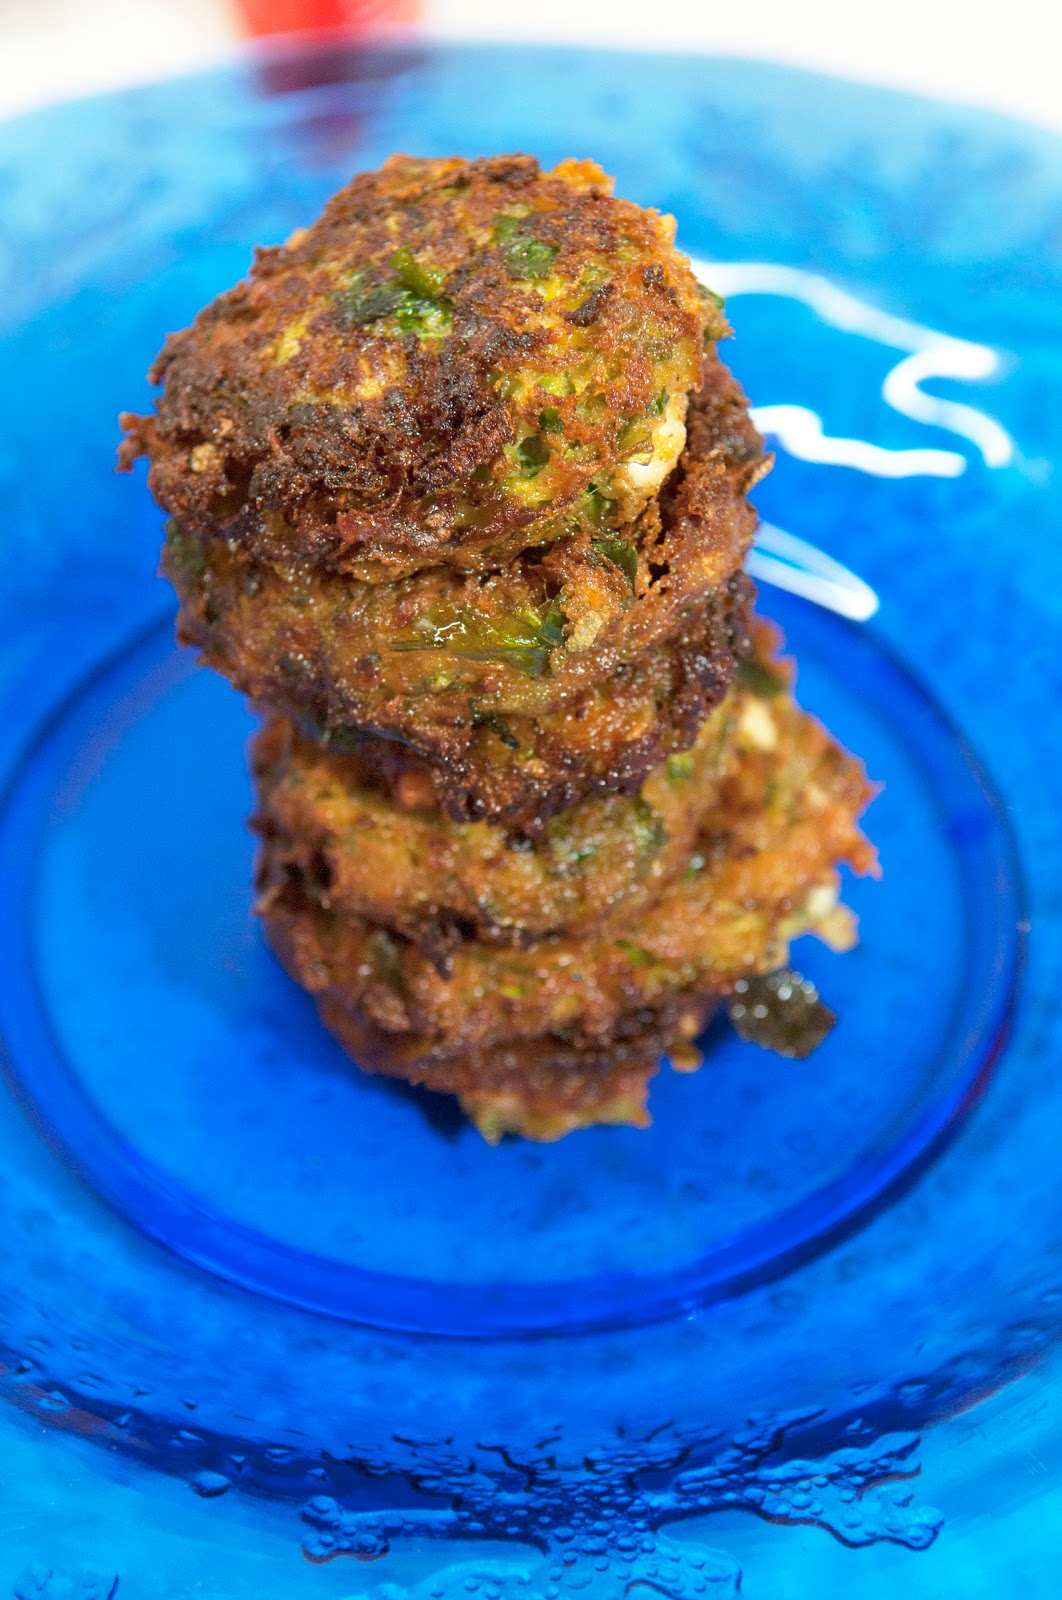
While ‘the hurricane’ was busy with her side of things the cousin started concocting a separate recipe ‘zuccini balls’ which left me dancing between the two recipes and, if that was not bad enough, no sooner was there space on the work surface the friend started with her creation ‘cheese pies’ and just as I thought we were getting to a level of calm, my host’s husband walked in completely over loaded with bags of tomatoes and fruit – so much so that I genuinely thought the kitchen might implode. From in amongst the fruit he handed his wife a bag of snails from his Mother. His Mother had collected them and fed them flour for ten days so that they were now ready to cook and eat, needless to say the snails were now fair game and my camera was back in over drive!

The evening was great fun and extremely interesting despite the fact that there were so many things going on in a relatively confined space. I was amazed to see that in spite of this, everyone seemed to work their way around one another and not only that but by some sort of a miracle everything was ready at the same time!

To simplify things and so that you are not confused I have decided to break the evening down into separate postings so that you have some kind of a chance of getting it right! With respect to ‘the hurricane’ I shall start with her recipe. 


‘Kartoumeria’ also known as ‘Cheese Rolls’

This recipe with these quantities will make between 60/70 rolls. You should halve or quarter the quantities depending on the number of mouths you are feeding!! The good news is that they freeze extremely well.

Ingredients:

2kgs  All purpose flour
1          Wine glass of olive oil
½         A wine glass of raki or vodka
 Pinch of salt
5          Cups of water
1kg      Grated Parmesan
extra olive oil for brushing and for frying.


Firstly, if you are not scaling down the recipe then you’re going to need a very large bowl. Pour the glass of olive oil into the bowl then add the flour, salt and raki, mix these together with your hands and slowly add in the water, you may need slightly more or less water so go slowly!

Once everything has mixed and you have a large mound of dough you’re going to need to start dividing the dough into small balls of dough these should be about the size of a table tennis ball.


Spread out a pile of flour on a table and flatten the balls out so that they are now about 5mm thick and disc shaped.


Now there are two ways of doing the next part. If you have a pasta roller then you should now feed the dough into the machine twice to flatten it out. Run a fair few through at a time. Next, you need to reset the pasta machine so that the rollers are closer together making the dough even thinner … you need to end up with long strips of dough around 1 mm thick.

If you do not have a pasta machine then all this can be achieved with a rolling pin.


Take the strip of dough and lie it out on the table. Paint a strip of olive oil down the center and then lightly spread out some of the cheese. Fold the sides over one another and roll it around itself.


Place the finished rolls on a tray and put a tea towel over the top while you repeat the process. At this point you can freeze the cheese pies, they will keep for about 6 months in the freezer.


Frying – we use olive oil here, just because we have so much of it, but you can use any kind of oil that you like – you need a large frying pan -put about 1.5 cm of oil in the bottom and turn the heat right up. Once the oil is hot but not burning you can start frying, put a few of the cheese rolls into the pan and fry them lightly, after about 1 – 2 mins turn them over and fry the other side. When you take them out they should be golden, put them on a plate which has some kitchen paper on it to absorb the excess oil then sprinkle a little cheese on top of the rolls.


It is best to serve these hot as a snack but you can also have them the next day with a little honey for breakfast.


Tuesday, 19 June 2012

Stuffed Vine Leaves


Stuffed vine leaves are one of my favourite Greek dishes, whenever I go out they are always ordered, so I have tasted a fair few. When Spring arrived and the vines started to grow leaves I thoutgh ‘Mmmmm, how hard can it be?!’
The truth is that it's not hard, just a touch fiddly, I like them so much that the fiddling doesn’t put me off and perhaps the genius part of the whole thing is that, much like a stir fry, anything goes! Any veg that you have lying around the fridge is fair game. You can use fresh herbs or dried, the result is much the same though I think the fresher the better.
This is a step by step guide to making stuffed vine leaves.
First off your going to need the following ingredients:
 
30 – 40            Vine leaves – I use fresh leaves but you can use jarred or frozen leaves.
1                      Red pepper
1                      Large carrot
1                      Fist full of fresh coriander
1                      Fist full of fresh basil
1                      Table spoon dried oregano
1                      Large red onion
2                      Cloves of garlic
8 – 10              Baby tomatoes
1 500g            Tin of tomatoes
2                      Large tomatoes
1                      Stock cube  - I use chicken
300g                Short grain rice
Salt and pepper to taste

If using fresh vine leaves collect 30 to 40, they should have a diameter of between 12 and 18cm. Try to take younger leafs and please try not to take them all from the same plant.
Once you have your leaves you need to wash them and cut the stalks completely off. Now that they are clean pile them into stacks of ten or so and role them into a cylinder resembling a cigar.
Using tongs submerge the leafs in a pot of boiling water for 3 – 5 seconds and then place them on a plate to cool.  Keep the water and add the stock cube to the water, turn the water down to a very low heat.

Peel the onion and the garlic and throw them into the food processor. You want to blend them into finely diced pieces, alternatively if you don’t have a food processor you can grate them.
The carrot and the pepper should be cut into small pieces and added to the onion and garlic.
Put a large wok or deep frying pan onto a medium high heat and add up to 4 tablespoons of olive oil. Once the oil is hot (but not smoking) add the onion, garlic, carrot and red pepper, cook these until they soften. When they’re soft add the rice and turn the heat down you will need a medium heat from now on.
You will need to ladle in the stock, it’s much like cooking a risotto, after you have added 3 – 4 ladles of stock add the coriander and basil and then the tinned chopped tomatoes.  The rice should be half cooked. It will be cooked the whole way through later on. Once you're at this stage take the pan off the heat and let it cool.

Unroll the vine leaves so that they are flat. Find the larger leaves and put these to one side, if there are any torn ones keep these aside too. Take a large pan or casserole dish and pour in a generous amount of olive oil (several glugs), now place as many of the torn leaves as you need to cover the base of the pan, this will stop your stuffed vine leafs from burning. Add a little more olive oil to the topside of the leaves.
On a dinner plate place one leaf upside down so that the underside of the leaf is now on top. Using a desert spoon, put just under spoon's worth of stuffing on the leaf. Next up you need to fold it. Try to get it as tight as possible, fold the left and right sides over one another and then roll the leaf, it should look like a pillow when you're done. Take the now stuffed leaf and put it into the pan which has the other leaves lining the bottom, you should put them on the edge of the pan creating a ring and work your way in, If you have a few too many just pile them up and make a second layer. 

Take the tomatoes and put them in the food processor, give them a really good nuke so that you are left with tomato pulp more than anything else and pour this over the stuffed vine leaves, you want to add some water so that the bottom leaves are just about covered and then a sprinkling of olive oil for good measure.

Cut a long sheet of aluminum foil and put a plate upside down in the middle. Lower the plate onto the stuffed vine leaves to act as a lid. Turn the heat on, you will need a very low heat. Leave the leaves cooking for about an hour or until all the water has been absorbed by the rice.
Once the water has been absorbed take them off the heat and serve hot or cold with some Greek yogurt.
Vine leaves are great and whilst they take a while to make they keep in the fridge for a few days and are wonderful snacks or starter dishes. 
Enjoy!